Showing posts with label how-to. Show all posts

July 09, 2015

Update on the fairytale dolls

 Still working on this project. My paperclay made some cracks, so I had to put some more diluted paperclay on the doll. After that, I sanded them all down, untill det studio was covered in fine white dust ;-)


After sanding the dolls, I changed my mind aabout the wolf´s fur, and covered his whole body in a very string joint compound and made some structure looking like fur. After sanding them again, I painted the base coat using some cheap acryliv paint.
Tip: I have a lot of acrylic paint, and I usually use the cheap quality for priming and basecoats. I like to paint with very expensive paint, so I am not using that for that. 


Tomorrow I will sand the paint again and perhaps give it another layer. Then I´m going to start painting the faces.

I had an idea today. I was thinking about hair and accessories as eg a crown. How to make then stay ontop of the head? I think I want to try to drill a hole in the head, and make wigs that have a stick that fits the hole. Small crowns can also fit in the hole. I must think about how to make that. It really could work, because these dolls are going to be moved, and I don´t want to worry about things falling of the doll. That kinda ruins the magic, don´t you think? 

Now, I´m off to bed. I must get up early tomorrow, because I have an very early appointment with a speech therapist ;-) I need to learn how to breath properly ;-) I´ll tell you more about it later...;-)
Good night! 


August 27, 2014

Sculpting hands are always a challenge! (Medicin doll part 3)

Link to part 1
Link to part 2

Good evening, I´m back as promised with som work in progress of how I sculpt hands.
I am not really good at sculpting hands. Really. Not any good. I find it very very hard and challenging. Polymer clay is a bit easier than paperclay, but over all I think the hands are the hardest part to sculpt.

Continuing from yesterdays decision, I am not trying to make it perfect. This is a medicin doll, not an art doll.

Okay, first I roll the clay like this:


Then I divide the clay in two:


I make sure that the hands have the correct size. They should be the same length as the face. In my case 5 cm (2")


Then I cut the fingers halfway down:


And then I start to sculpt. This process is hard to describe. I´m not really any good at it as I said, but I try and try, and at some point I get a hand that I can accept. Then I add a thumb on both hands.


I totally forgot to take pictures after this, but here is the result. I am going to sand a lot tomorrow night, in order for those fingers to look a bit more slender and elegant ;-)

December 13, 2013

Hands, hands and more hands....

This video is an introduction to the volume and the basic shapes of a hand. I think hands are really hard to make, and found this video very helpful. 

A dollartist once told me that one of her students also had a hard time making hands, and she instructed her to make at least 2 or 3 pairs of hands every day for a week. At the end of the week, the student felt more confident and had even started enjoying to sculpt hands. I think I will do the same. 
See, I never ever practise enought, and I can easely tell that my sculpted hands are gettinng better each time I make them. 
If you have more videos or tutorials on sculpting hands, I would appreciate you sharing them with me. 

December 04, 2013

Interesting video with tip for painting doll eyes


This is a very interesting video demonstrating steps for painting eyes. I loved it!

December 01, 2013

Please welcome Hannah (Part 6)

Part 1: http://www.solannsworld.blogspot.dk/2013/10/starting-new-art-doll-please-welcome.html
Part 2: http://www.solannsworld.blogspot.dk/2013/11/please-welcome-hannah-part-2.html
Part 3 :http://www.solannsworld.blogspot.dk/2013/11/hannah-has-got-new-ears-and-hands.html
Part 4: http://solannsworld.blogspot.dk/2013/11/hannah-is-coming-along-nicely-now-with.html
Part 5: http://solannsworld.blogspot.dk/2013/11/please-welcome-hannah-part-5.html

Hannah is coming along nicely, and I want to show you her progress.
I have worked on her body, and give her more qulit batting. I don´t know if she is done. She is still a bit skinny, so I won´t dress her just yet.
I have painted her face. I do acrylic washes. She has emerald green eyes now. Hannash also needs eyelashes. I have some fake one from Hong Kong and will try to use them.
Her hair is almost done. The orange color was wrong, so I changed my mind and gave her dark brown. She is just adorable, and I cant wait to make her hat and dress!


How-to make an abstract watercolor painting of a female

We are taught a creative technique at my art school, and I thought I would like to share it with you.
It is a way of starting the abstract painting, and it is also very fun to do too.
First you do a series of sketches as a  study. It can be whatever subject you want. We´ve done both flowers and a mannequin at the classes. 
Start your studies with lots of paper, a pencil and a pocket watch. You will now do 30 seconds sketches. My art teacher told us to be like ants. Trace the subject or model onto the paper and walk your pencil on the paper like an ant. You can´t go back, and you cant jump. Just walk really fast, and trace your target all around the edges. When you have done this exercise several times, put your pencil in the opposit hand and do the exercise again. You can do one minute sketches now. Keep doing this, and then try to shut your eyes. See if you can imagine the subject in your minds eye, and let your hand trace on the paper like an ant. You don´t need to worry about details. Just trace around the edges.
Your drawings will perhaps look a little like this: 


Please, don´t judge my artistic accomplishments by these sketches....

Now you are done and can choose among yoursketches and then transfer them to your watercolor paper. You can do this any way you want. I just did some freestyle sketching. Others would perhaps use a projector.  
Your drawings will only be a part of the background structure, so please don´t worry about the aesthetics. In the end, nobody will be able to see your bodies in the painting anyway. Not very much that is...
Tape your watercolor paper onto a non-absorbent surface. I taped it in four equal squares. This allows you to work on all of the squares at the same time.

Okay, now the really fun part starts. I used:
  • black ink
  • clean water to dilute and clean the brushes with
  • watercolor brush and acrylic brush. Also a very thin liner brush
  • two complementary colors (I used turquoise and red-orange)
  • salt
  • straws
  • aquarelle pencils 
  • acrylic liner (white)
  • coffee or black the (yes, that´s right. Works wonders!)
Now you start with the black ink. Just paint like you want, and add colors as you go. Blow the very wet paint with the straw to create the fun shaps and "runners". Put salt in the wet paint too. Remember to keep it there until the painting is completely dry. Then brush it off. Use the acrylic liner in the end, and keep it simple! Remember the frase: KISS (Keep It Simple Stupid!) Easy to say, but so very hard to remember ;-)
Also, remember to keep parts of the paper blank. 

Here are my paintings:


See that you dont recognize the female body anymore? I mean, there is a hand and a breast and such, but you don´t see the complete figure. I like my paintings so much that I am having them matted and glass framed! What do you think? 


November 09, 2013

Abstract portrait painting workshop!

Good evening!
Tonight I would like to share thoughts about a workshop I attended today. The theme was abstract portrait painting, and it was so much fun! I have a hard time with abstract painting. To me, it is difficult and un-natural. I much rather paint in my own style, but I am a strong believer in the fact that we must work outside our own comfort zone in order to develop our creativity, so I keep trying. My teacher says that abstract painting is the most difficult style to paint, and I agree!

Here is some "rules" from my school:


  1. What do you want with your painting?
  2. Let all your colors stay "open" (Keep painting with thin layers, so that they blend and stay transparent).
  3. Cover everything you like with new paint.
  4. Don´t isolate your favorite places on the canvas. Be prepared to change everything!
Fun eh? If there is something you like, hurry up and ruin it! Stay open in the creativ process, and let every door remaine open untill the very end. Really, really hard!

Our task was to paint abstract portraits on rather large canvases. First we was asked to paint a background fast and without thinking too much. Just choose some nice colors and have fun. 
Then we had to find a good photo. Our teacher uses mostly newspaper portraits. Why? Because they are mostly not taken by professional photographers, and therfor look´s more natural. 


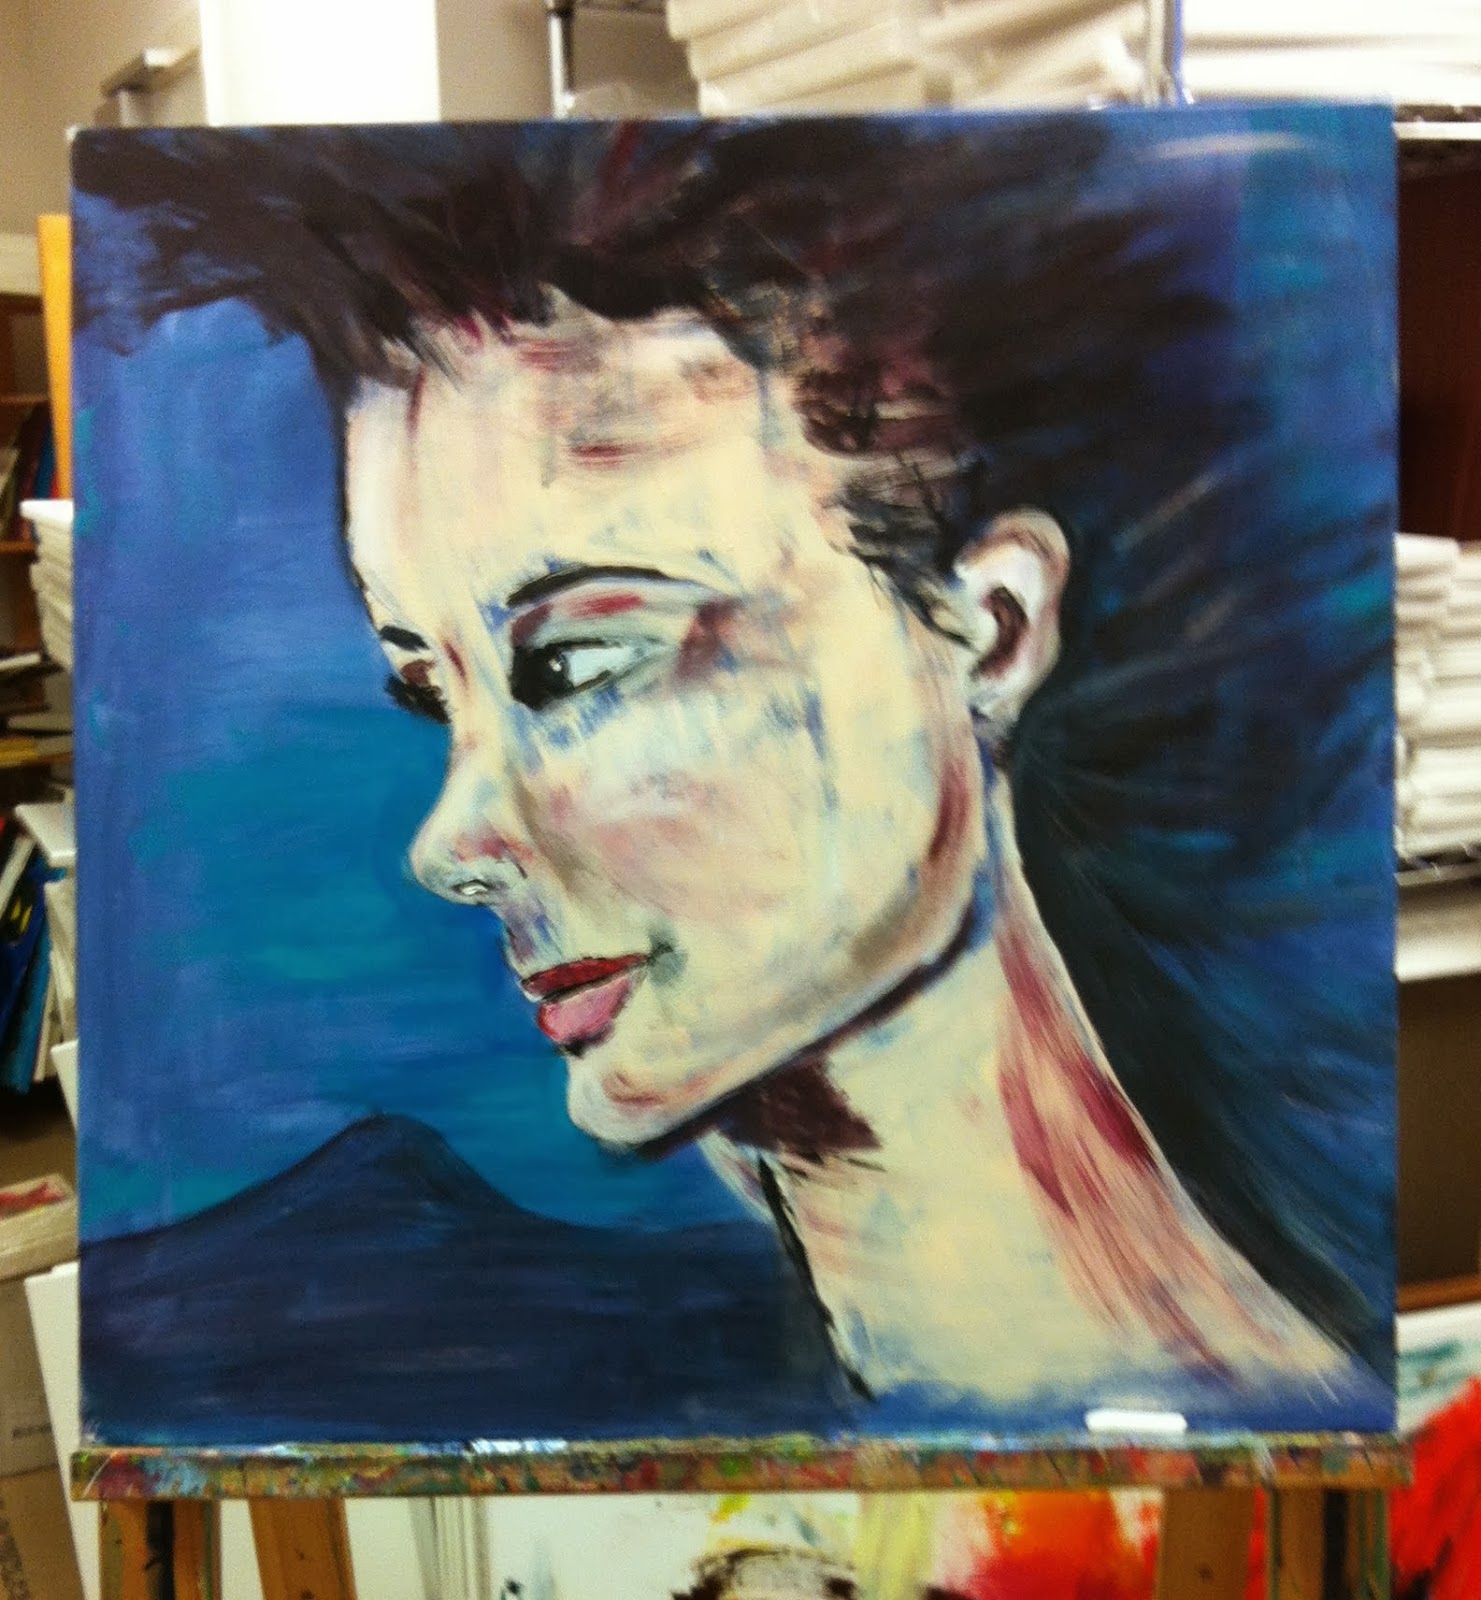
Here are a few photos of my teachers own paintings:


So, that look´s really easy, right? Let me tell you a secret: IT WAS NOT! IT WAS BLOODY DIFFICULT!!!

Before I share pictures of my painting and the process, I´d like to share a good idea:
Make a portrait practice journal. My teacher had this big thick journal full of cut out photos from newspapers, and her own studíes:


I decided on the spot to do the same! A study of faces and expressions. When ever I get bored, I have several photos to work with.

Now over to my painting. I remembered to take some shots through the day, so here they are:

Background: red, yellow, orange and white colors.

I start by painting all the darker places.  Then I add the highlights.  

More work, now a little green and blue as contrast to all the red and orange. 


It is not really all that abstract, but it´s very different from what I usually paint. I think I like it. The woman look´s very much like my inner spiritual guide, a warrior-priestess called Karla. I especially like her green eyes and fierce expression. She has a lot of stenght, wisdom and courage! 

Tomorrow I´ll share more work with my doll, the witch Hannah! 

Some pictures from the other participants: